

To make you use it smoothly, there are some accessories in the package which need to be assembled by yourself, generally speaking, it can be assembled in 5 minutes. Below are the specific assembly instructions, which are also included in the instruction manual.

Removing Back Glass of iPhone Tutorial
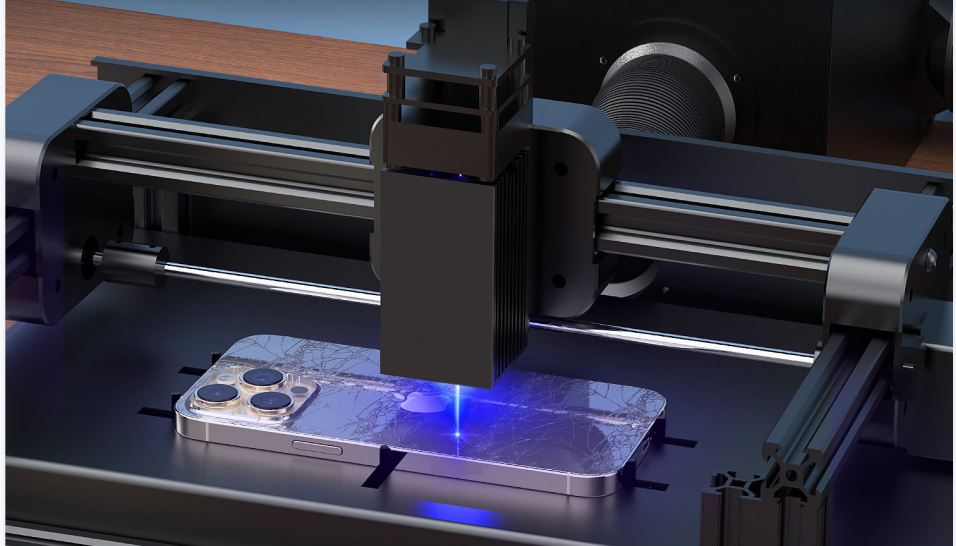
Once the machine is assembled, please use the controller (Untie) to loosen the fixture, and then put the cell phone into the middle of the fixture, remembering that the camera is located in the lower left corner of the fixture. Please refer to below image (1) and (2).


Second, Please click on the "Home" button for positioning, at this time the fixture will be automatically clamped, the phone back glass laser machine will automatically complete the positioning, as well as automatically adjust the height of the laser head. ( 95% of market laser require manually adjust the height of the laser machine)


Ensure that the preview of the machine is accurate before placing the phone's special protective mold, and then click on the start (the serial number of the drawing can be selected by referring to the instructions in the package)
If the preview is not accurate,please try to follow below step to adjust:
A: First, go back to the "HOME" page of the controller
B: Click on the top left corner of the home page to restore factory settings
C: Then set it according to the way in P16 of the user manual.
Camera Drawing Use Tutorial
Currently, the task of removing camera glass glue using lasers in the market is proving to be quite challenging. Srwor V2 back glass separator machine has crafted a dedicated solution, featuring the following precise steps:
1) First of all, please put in your cell phone, click the "Home" button to position it, then click "File" to select "Camera" file, and select the corresponding file following the model of your cell phone and thus preview it.
2) Notice, the preview is based on the whole phone, after the preview is correct, please put a protective mold on the phone .
3) Then, please select the appropriate model of drawing following the model of the cell phone and start to remove the glue.
4) During this period, the laser head will automatically detect the distance of the camera protrusion, and then adjust the height of the laser to achieve the best de-gluing effect.
See, It's easy to use the laser machine to repair the back glass or rear camera lens of the iPhone, during the removing progress of the glue removal, the most importance thing is to make sure that the laser is accurate, and that you place a protective mold and choose the right file on your phone.
Of course, When you have any issue with the using the V2 laser machine,please feel free to contact us through by the user manual contact information, once recieved your message,we'll help you out soon.
Thanks for your support again, hope you enjoy your work and all the best!
Have a nice day!